Assignment 1: Crowdsourced Data Management
Overview
While machines are getting more and more powerful, there are still many problems (e.g., Entity Resolution, Sentiment Analysis) that they cannot solve very well. Imagine you are facing such a problem in your research or at work. What are you going to do?
If you can say "let's have a try of crowdsourcing", I will be so proud of what I have achieved in this course!Now, let's be real and start implementing (maybe) your first ever crowdsourcing algorithm.
Part 1: Tutorial
Before working on the implementation of the algorithm in Part 2, please first go through this short tutorial and get to know some tools (i.e., jupyter, pybossa, reprowd) that are necessary for finishing the assignment.
1.1 Jupyter
When you open up a python command shell, this is what you will see:
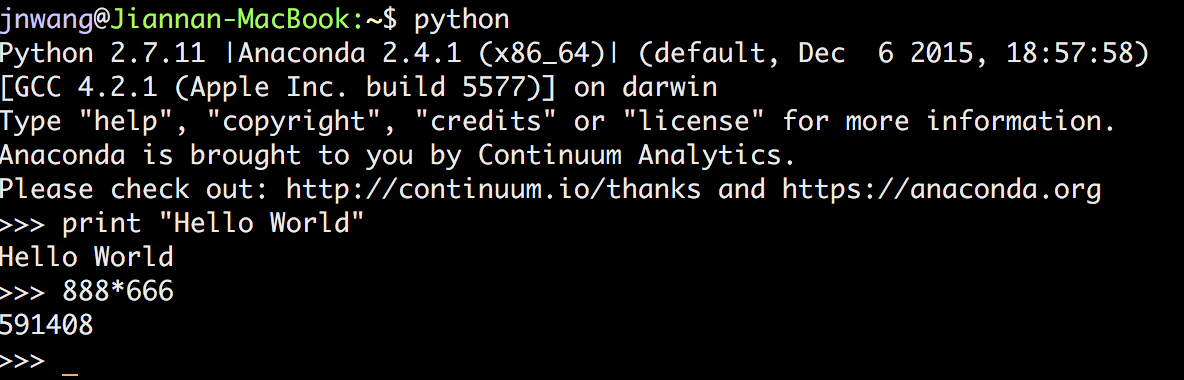
Compared to a python IDE, the command shell allows you to write python code interactively. But, it is not good enough. You cannot even modify the previous code (e.g., changing print "Hello World" to print "Hello Python").
Jupyter (originally called IPython Notebook) significantly improves the usability of the command shell (see the screenshot below), and has become the de-facto standard for interactive computing.
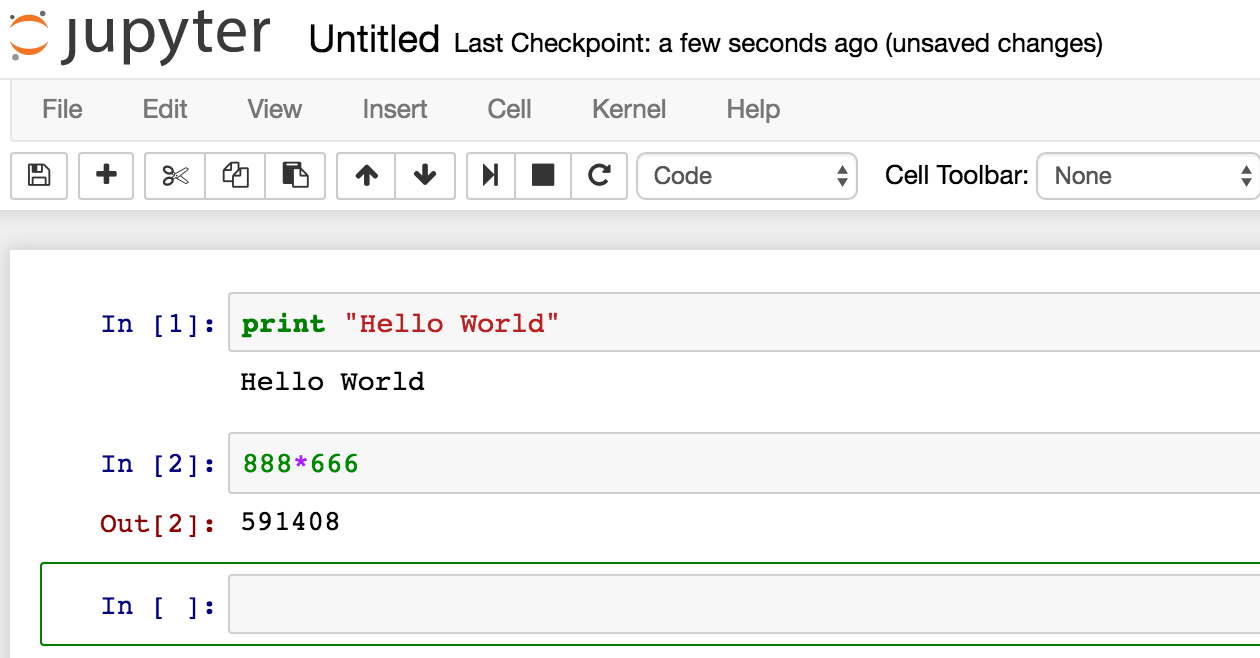
Please install jupyter and use python 2.7.* for this assignment.
1.2 Pybossa
Pybossa is an open-source crowdsourcing platform. We will be using it as our crowdsourcing platform in this assignment. In spirit, pybossa is similar to MTurk. We have deployed it on http://ec2-54-200-84-187.us-west-2.compute.amazonaws.com:5000.
Please first create a new account on the platform. As a worker, you can explore available tasks by clicking the Projects link; As a requester, you can publish new tasks or check the results of existing tasks by clicking on your name and then in the My Projects option.
Pybossa provides a python client, called pbclient, aiming to make it easy to work with pybossa. Essentially, it is a wrapper of the pybossa's RESTful API. I wrote a simple image-labeling program using pbclient. You can download the notebook from this link. In order to run the notebook, you have to make three changes to the code.
- Add your api_key to
pbclient.set('api_key', 'Replace with your own API key'). You can find your API key by clicking on your name, and then in the My Account option. - Add your project name to
project_name = "Come up with a name for your project". Please choose a different name than any existing project in the platform otherwise the project cannot be created successfully. - Add your project short name to
short_name = "Come up with a short name for your project". Again, please choose a unique short name for your project.
Please read the code carefully and make sure that you know how to make the code run successfully.
1.3 Reprowd
1.3.1 Motivation
In addition to interactivity, another main reason that people love to use jupyter for data analysis is reproducibility. That is, when seeing a data analysis result in a shared notebook (e.g., gun violence analysis), you do not only see the analysis result but also the code that produces the result. Moreover, you can further examine the result by rerunning or extending the code.
However, if your notebook involves crowdsourced data processing, it will be not easy to share the code or allow others to examine the result. More specifically, consider the following two situations and think about what would happen to the above image-labeling notebook.
- [Sharable]. What if you want to share the code with your friend such that your friend can rerun your code and get the same result as you?
- [Examinable] What if your friend wants to further examine the result (e.g., checking when the tasks were published, or which workers did the tasks?)
For both situations, in fact, you have to modify the code to meet the corresponding requirement. As your problem gets more complex (e.g., the problem in Part 2), it will be increasingly challenging to make those modifications.
1.3.2 Programming Guide
Reprowd is an open-source python library that aims to make it easy to reproduce crowdsourced data processing. If you implement a (complex) crowdsourcing algorithm using reprowd, you don't need to worry about the needs to share the code or examine the result. I used reprowd to rewrite the image-labeling code. You can check out the notebook at this link.
Next, I am going explain the code line by line, helping you understand how reprowd works and why it can meet the sharable and examinable requirements.
Step 0: Installation.
Please follow the instruction to install reprowd. Note that you don't need to install your own pybossa server.
Step 1: Initialization.
Here I assume that you have set the REPROWD_ENDPOINT and REPROWD_API_KEY environment variables.
Importing necessary libraries for your image-labeling program.
from reprowd.crowdcontext import CrowdContext
from reprowd.presenter.image import ImageLabel
Creating a Crowdcontext object, the main entry point for Reprowd functionality. "reprowd.db" is the database name. After executing this line of the code, you will see a SQLite database file called "reprowd.db" created in your folder. It will be used to store the responses (e.g., published tasks, collected results) from the pybossa server.
cc = CrowdContext(local_db="reprowd.db")
Presenter is the UI for your tasks. Reprowd has three built-in presenters (i.e., ImageLabel, ImageCmp, TextCmp) to support different scenarios. Here, we use ImageLabel for our image labeling task.
# !! The name and short_name must be unique! Otherwise you will get an error when creating the project.
presenter = ImageLabel().set_name("Finding Bears at SFU (reprowd)") \
                .set_short_name("imglabel-reprowd") \
                .set_question("Do you see a bear in the photo?")
Step 2: Publishing Tasks.
Specify a list of pictures you want to label.
pics = ['https://github.com/sfu-db/cmpt884-fall16/raw/master/Assignments/A1/3.jpg',
        'https://github.com/sfu-db/cmpt884-fall16/raw/master/Assignments/A1/4.jpg',
        'https://github.com/sfu-db/cmpt884-fall16/raw/master/Assignments/A1/5.jpg']
Initialize a tabular dataset and return a CrowdData object. The two input arguments are:
- object_list – A list of objects, where an object can be anything (e.g., int, string, dict)
- table_name – The database table used for caching the crowd tasks/results related to the CrowdData
The CrowdData abstraction is the key innovative aspect of the system. The basic idea is that we map a set of steps for doing crowdsourced data processing as a sequence of manipulations of a tabular dataset. For example, collecting results from the crowd is mapped as adding a new column called result to the CrowdData.
The initial dataset has two columns: (id, object), where id is an auto-incremental key (starting from 0), and object is populated by the input object_list. You can access the dataset through the crowddata.data variable, access each column through crowddata.data['colname'], and access each row by zipping columns together.
crowddata = cc.CrowdData(pics, "sfu-bear")
print crowddata.cols
for id, object in zip(crowddata.data['id'], crowddata.data['object']):
    print id, object
Specify a presenter for crowddata. The two input arguments are:
- A Presenter object (e.g., reprowd.presenter.ImageLabel)
- map_func() maps an object into the data format the presenter requires
crowddata = crowddata.set_presenter(presenter, lambda obj: {'url_b':obj})
Publishing tasks to the pybossa server. The function adds a new column called task to the tabular dataset, which stores the detailed information of each published task. This information is very valuable for others to examine the code.
- n_assignments – The number of assignments. For example, n_assignments = 3 means that each task needs to be done by three different workers.
crowddata = crowddata.publish_task(n_assignments=1)
print crowddata.cols

import pprint
pp = pprint.PrettyPrinter(indent=2)
print "\nTask:"
pp.pprint(crowddata.data["task"])
If everything goes well, your project will be shown at http://ec2-54-200-84-187.us-west-2.compute.amazonaws.com:5000/account/[YOUR_USER_ID]/projects
Step 3: Collecting Results.
Get results from the pybossa server. The function adds a new column called result to the tabular dataset. This function will continuously collect results from the server until all the tasks are finished by the crowd. You can use get_result(block=False) to get the current results of the tasks immediately even if they have not been finished yet.
crowddata = crowddata.get_result()
print crowddata.cols
print "\nResult:"
pp.pprint(crowddata.data["result"])
Infer the final results using a quality-control method (e.g., Majority Vote). The function adds a new column to the tabular dataset. The column name is the specified quality-control method's name (e.g., mv)
crowddata = crowddata.quality_control('mv')

for task, result in zip(crowddata.data['task'], crowddata.data['mv']):
    print task['task_data']['url_b'], result
How to share the code? This is very easy! You don't need to make any change to the code. Just put it together with the database file (i.e., reprowd.db) and share them. For example, you can download this package and uncompress it. You will see a notebook along with a database file inside. Open up the notebook and rerun it. You will reproduce my result.
How to allow others to examine the crowdscoued result? This is also very easy! In fact, you don't need to do anything since reprowd will automatically capture the detailed information of the result for you.
You can check the information at crowddata.data, or load it as a DataFrame to conduct further data analysis on the result (see below).
from pandas import DataFrame
df = DataFrame(crowddata.data)
print df.shape
Crash-and-Rerun. In the Turkit paper, you have learned the necessity of having the crash-and-rerun feature for a crowdsourcing program. As you may have noticed, reprowd also has such feature. That is, you don't need to worry that your program may crash after you publish tasks because you can simply rerun the program as if it has never crashed.
1.3.3 More about Reprowd
If you want to know more about reprowd, please check the followings.
- A short research paper on the motivation and key insight of reprowd.
- Reprowd API Documentation
- More Examples
- Reprowd Mailing List
- Filing a Bug or Feature Request
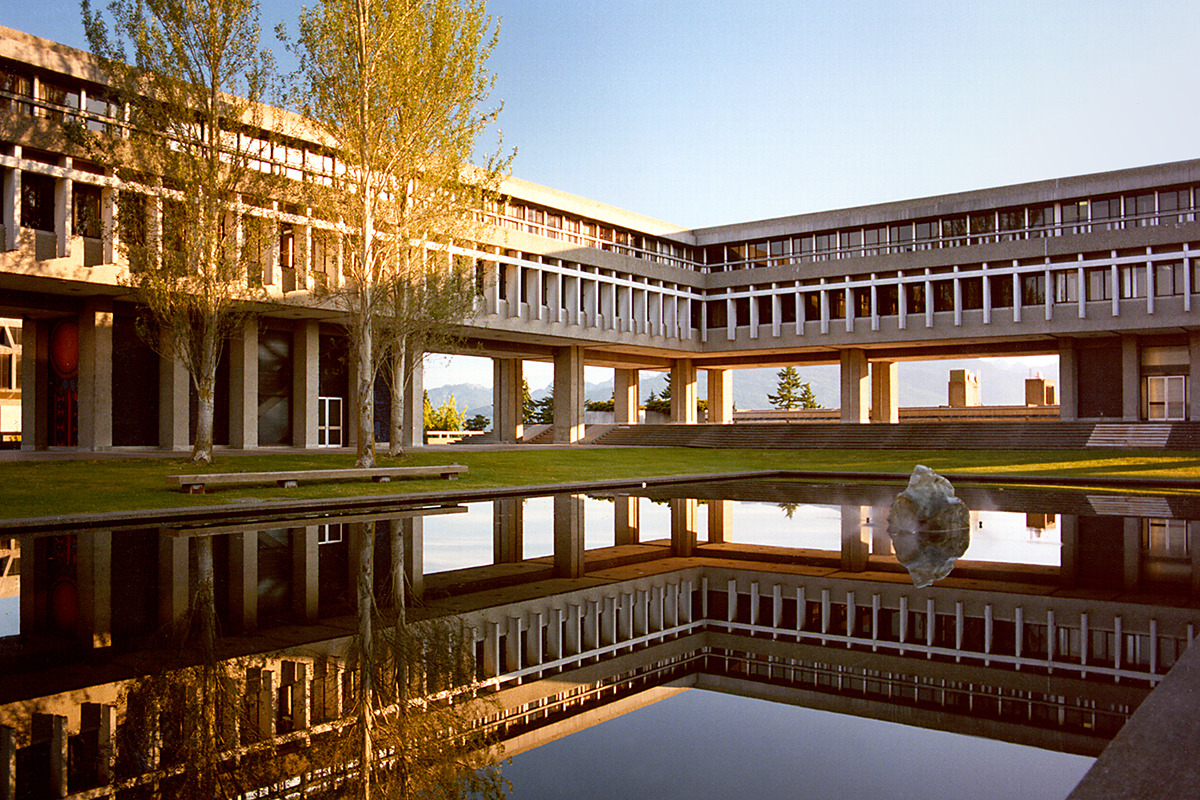
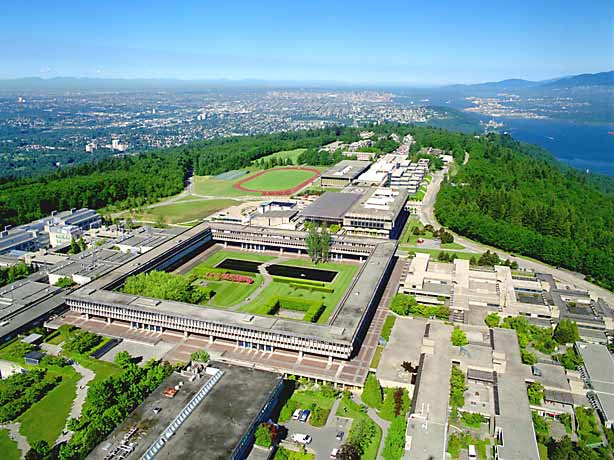
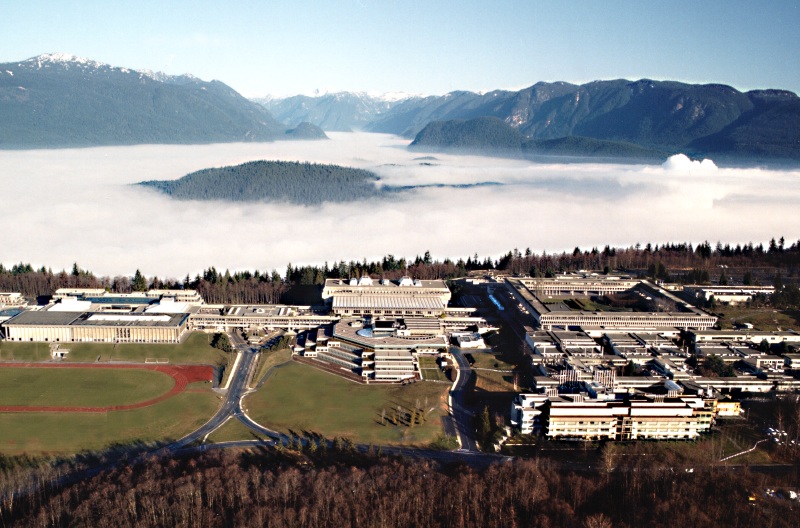
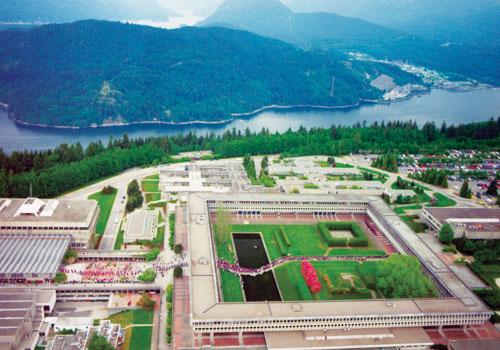
Part 2: The Most Beautiful Picture of the SFU Campus
Now, let's be real and start implementing (maybe) your first ever crowdsourcing algorithm. Imagine you collect a number of pictures of the SFU campus, but have a hard time in chooing the most beautiful one. You decide to leverage the wisdom of the crowd to solve the problem. This is essentially a crowdsourced Max operation. There are various algorithms proposed in the literature (See Sec 7.5.1 in this survey). In this assignment, your job is to implement the tournament max algorithm using reprowd.
- [Algorithm Description]. The tournament max algorithm, as the name suggested, is a tournament-like algorithm that is widely used in sports for choosing the best team. Suppose there are n items. It first generates n/2 pairs, and asks the crowd to compare the two items in each pair. Then, it chooses the better one of each pair and generates n/4 new pairs. Iteratively, when there is only one item left, it will be considered as the best one.
- [Example]. Suppose you have eight pictures, A, B, C, D, E, F, G, H. The tournament max algorithm will first generate four tasks, i.e., (A, B), (C, D), (E, F), (G, H), where each task is a pair of pictures and it asks the crowd to choose the more beautiful one. Say A, C, E, G are the winners in each pair. It then generates another two tasks, i.e., (A, C), (E, G). Say A and E are the winners in each pair. Finally, it generates the last task, i.e., (A, E). The better picture between A and E will be returned as the most beautiful picture.
- [Input]. The input are the eight pictures of the SFU campus.
- https://raw.githubusercontent.com/sfu-db/cmpt884-fall16/master/Assignments/A1/1.jpg
- https://raw.githubusercontent.com/sfu-db/cmpt884-fall16/master/Assignments/A1/2.jpg
- https://raw.githubusercontent.com/sfu-db/cmpt884-fall16/master/Assignments/A1/3.jpg
- https://raw.githubusercontent.com/sfu-db/cmpt884-fall16/master/Assignments/A1/4.jpg
- https://raw.githubusercontent.com/sfu-db/cmpt884-fall16/master/Assignments/A1/5.jpg
- https://raw.githubusercontent.com/sfu-db/cmpt884-fall16/master/Assignments/A1/6.jpg
- https://raw.githubusercontent.com/sfu-db/cmpt884-fall16/master/Assignments/A1/7.jpg
- https://raw.githubusercontent.com/sfu-db/cmpt884-fall16/master/Assignments/A1/8.jpg
- [Output]. Print the most beautiful picture
[Requirements and Hints].
- Set n_assignments = 3, and get three votes for each picture. Use Majority Vote to determine the better one.
- The human-powered sort example may give you some ideas about how to implement the algorithm using reprowd.
- Note that the point of this assignment is not to evaluate the performance of crowd workers. So you don't have to collect labels from real-world crowd workers (e.g., mturk). Instead, you can do the labeling tasks by yourself or ask your friends for help.
- If you have any question about the assignment, please ask them in the Reprowd Google Groups.
- If you find a bug or want to add a new feature to reprowd, please follow the instruction at this page. You will get bonus points by making these contributions.
Last but not the least, even if you do not get a chance to file a bug or feature request, you can still make a contribution to the project by simply clicking the Star on Github.

Submission
Submit a zip package, named max.zip, with your notebook (max.ipynb) and the generated database file reprowd.db inside. Make sure that others can rerun your code and reproduce your result (Similar to the package in "how to share the code").